

Skip to content
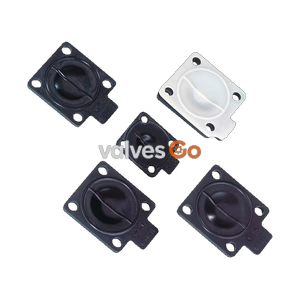
Reinforced NBRViton O-ringOptional EPDM

Spirax Sarco PN9000 Series Diaphragm Kit for Pneumatic Actuators

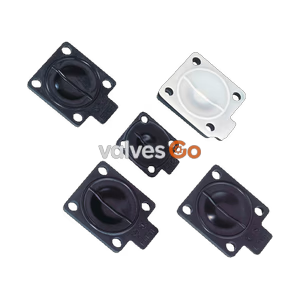
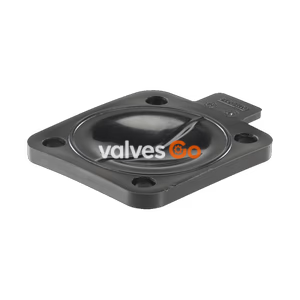
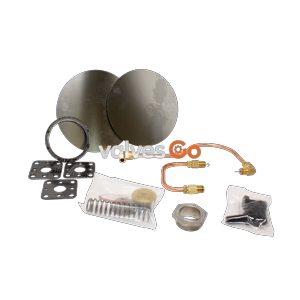
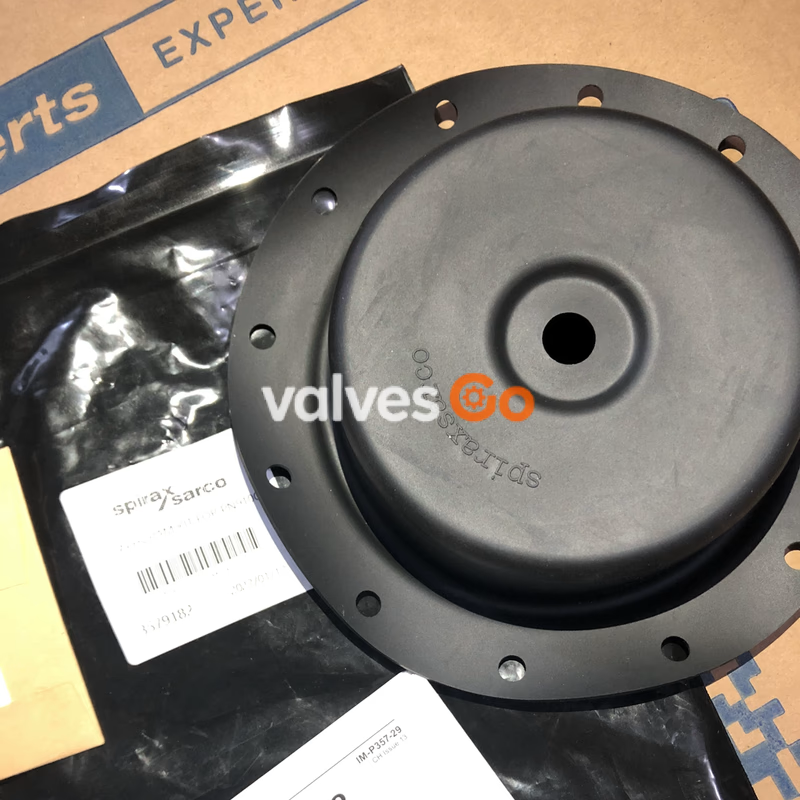
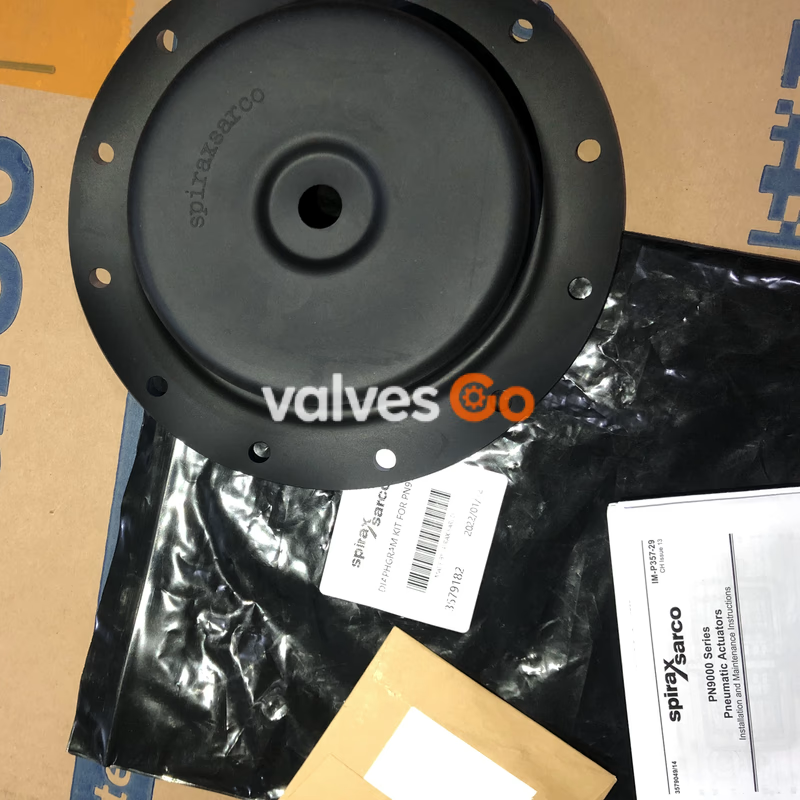
Spirax Sarco PN9000 series diaphragm kit (items 4, 9). Includes reinforced NBR or EPDM diaphragm and Viton O-ring for PN9100, PN9200, and PN9300 actuators.
Spirax Sarco PN9000 Series Diaphragm Kit for Pneumatic Actuators

The Spirax Sarco PN9000 series diaphragm kit provides the essential replacement components for the pneumatic actuator's pressure chamber. Designed for the PN9100, PN9200, and PN9300 models, this kit includes the fully-rolling diaphragm (item 4) and the sealing 'O' ring (item 9). The standard diaphragm is manufactured from reinforced NBR, ensuring good linearity over the operating stroke, while an EPDM version is available for high-temperature applications.

Materials and Operating Limits

PartMaterialTemperature Range
Diaphragm (Standard)Reinforced NBR-20 °C to +110 °C
Diaphragm (T version)EPDM-20 °C to +130 °C
'O' ringViton-

WARNING: SPRING DECOMPRESSION HAZARD

The diaphragm housing contains powerful springs under compression. There are 3 off longer housing screws (23) which are fitted to safely allow spring decompression. These MUST be removed last after all other screws are removed and should be loosened evenly to prevent damage to the actuator or valve and to prevent uncontrollable and rapid decompression of the spring preload.

How to Fit: PN9000E Spring-Extend Actuators

  1. Remove the actuator from the valve.
  2. Lubricate the threads of the three long hex. head screws with a PTFE based grease before releasing the tension in the springs.
  3. Loosen and remove the short housing screws and nuts (22, 23 and 24).
  4. Holding each nut with a spanner, rotate the three long hex. head screws a few turns at a time. Remove the screws and upper housing (2).
  5. Remove the springs (5). Using a spanner to hold the actuator spindle (6), loosen the bolt (21). Remove spacer (8), 'O' ring (9), washer (28), diaphragm plate (3) and finally the diaphragm (4).
  6. Refit the new diaphragm (4) and reassemble all items in reverse order, taking care not to damage the 'O' ring. It is recommended that Loctite 243 be applied to the upper thread of the spindle (6) prior to tightening.
  7. Using two spanners, whilst holding the actuator spindle (6) tighten the bolt (21). Refer to the recommended tightening torques table.
  8. Refit the top housing (2) and secure the nuts and screws (22, 23 and 24).

NOTE

Supporting the actuator spindle (6) ensures that the diaphragm sits evenly in the lower housing. Tighten the housing screws evenly to avoid distortion. To avoid distortion of the diaphragm do not fully tighten housing screws until all screws have been fitted. Final tightening should then be carried out.
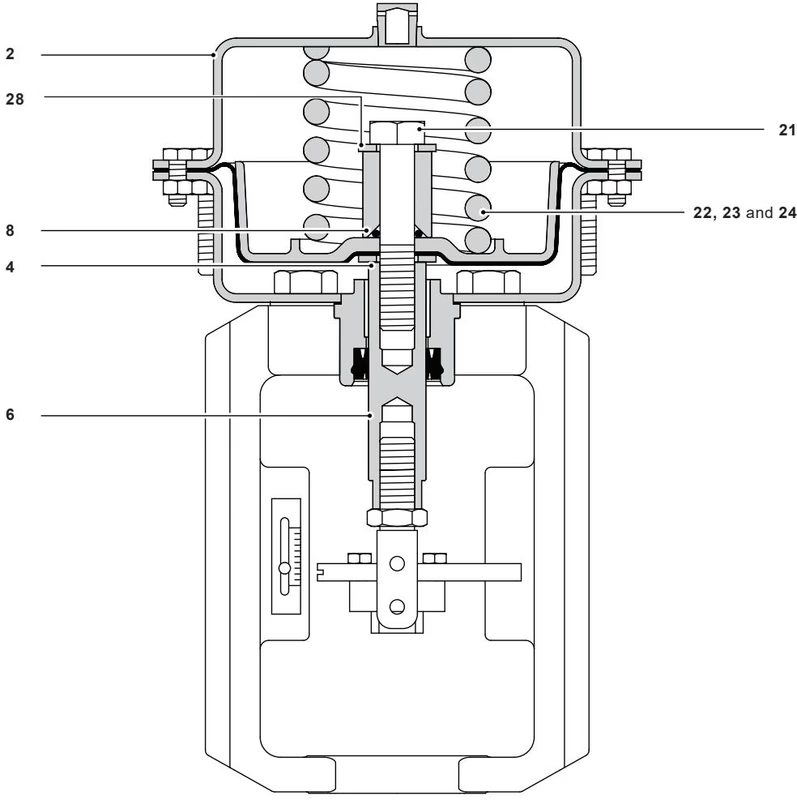
Spirax Sarco PN9000 Series spring-extend actuator assembly showing diaphragm

How to Fit: PN9000R Spring-Retract Actuators

  1. Remove the actuator from the valve.
  2. Lubricate the threads of the three long hex. head screws with a PTFE based grease before releasing the tension in the springs.
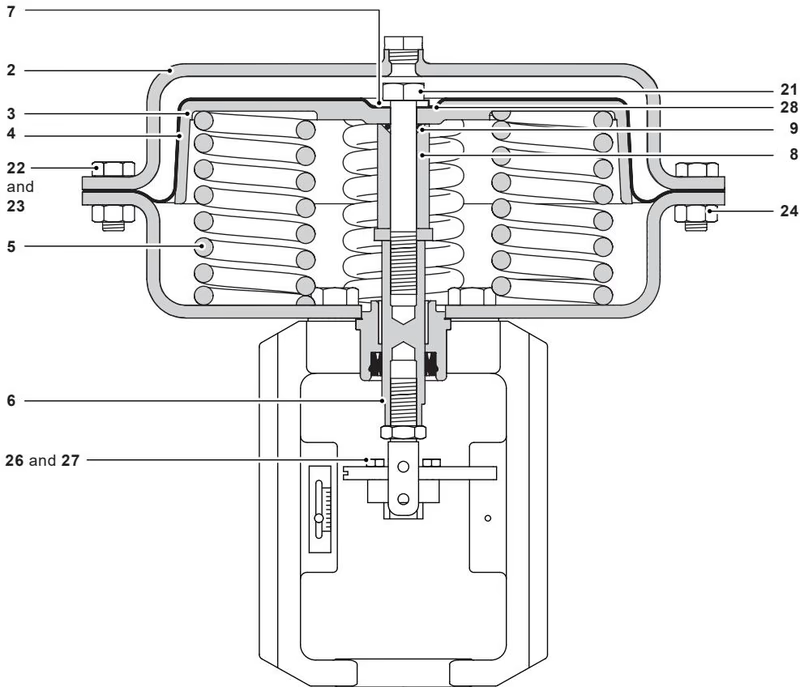
  3. Loosen and remove the short housing screws and nuts (22, 23 and 24).
  4. Holding each nut with a spanner, rotate the three long hex. head screws (23) a few turns at a time. Remove the screws and upper housing (2).
  5. Using a spanner to hold the actuator spindle (6), loosen and withdraw the bolt (21).
  6. Taking care not to damage the 'O' ring (9) fitted between the diaphragm support plate (3) and spacer (8), remove the washer (28) and the diaphragm (4).
  7. Refit the new diaphragm (4) reassembling all items in reverse order. It is recommended that Loctite 243 be applied to the upper thread of the spindle (6) prior to tightening. Ensure spring or springs are correctly seated.
  8. Using a spanner to hold actuator spindle (6), tighten the bolt (21). Refer to the recommended tightening torques table.
  9. Refit the upper housing (2) and securing nuts and screws (22, 23 and 24).

Spirax Sarco PN9000 Series spring-retract actuator assembly showing diaphragm

Actuator seriesScrews and nuts (Items 22, 23 and 24) SizeTorque (N m)Torque (lbf ft)Bolt (Item 21) SizeTorque (N m)Torque (lbf ft)
PN9100M6128.9M125036.9
PN9200M103526.0M125036.9
PN9300M103526.0M125036.9

How to Order Spares

Always order spares by using the description "Diaphragm kit" and state the actuator model. Example: 1 - Diaphragm kit for a PN9120 pneumatic actuator.